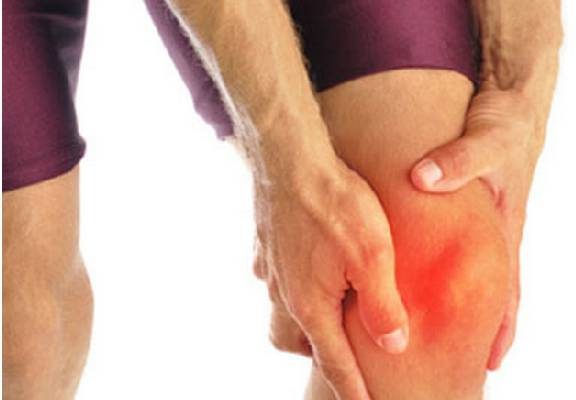
If experiencing knee pain and it affects your daily life including recreational activities, a professional needs to examine it to find out what is causing the problem. It is important to examine above the knee joint and below to determine that the cause is coming from the knee. Just because you have knee pain, which is a symptom the cause may not be the knee. Sorry to admit but some physicians and physical therapists only treat the area of pain. If the cause of the pain is not the knee and treatment is focused on the knee only, sucessfulness may be limited.
Patellofemoral pain: Specifically pinpointing the exact cause of patellofemoral pain syndrome is difficult. However, there is a wide variety of probable causes from biomechanical problems to muscular issues. Most physicians believe patella pain is initially caused by overuse and vigorous physical activities that put repeated stress on your knees, such as jogging, squatting, or climbing stairs or with osteoarthritis in older people.
Why do I have patellofemoral pain?
- Overuse and repeated stress on your knees
- A sudden change in your exercise routine
- A direct injury, impact, or hit to your knee
- You have poor kneecap alignment
- Problems with your feet, such as flat feet (fallen arches) or high arches
- Your muscles are weak or unbalanced
Patellofemoral Pain Syndrome Vs. Chondromalacia Patella
In many cases of patellofemoral pain syndrome, a condition called chondromalacia patella is present. Chondromalacia patella is commonly confused with patellofemoral pain syndrome because many cases of chondromalacia patella result in patellofemoral pain. However, both of these conditions can occur independently of each other. In comparison to patellofemoral pain syndrome, chondromalacia patella refers to the softening and degeneration of the cartilage located below your knee cap. In other words, chondromalacia patella is an acute knee condition in which the cartilage under your kneecap breaks down.causing pain behind the patella.
Patellar tendinitis is caused by repeated stress on your patellar tendon, which runs from the kneecap (patella) to the shinbone (tibia). The stress results in tiny tears in the tendon, which your body attempts to repair. You’ll feel pain as the tendon becomes inflamed and weakened.
If you’re feeling pain over your kneecap or on the inner side of your knee below the joint, you may be dealing with knee bursitis an inflammation of a bursa located near your knee joint. A bursa is a small fluid-filled, pad-like sac that reduces friction and cushions pressure points between your bones and the tendons and muscles near your joints. When it’s inflamed, the affected portion of your knee may feel warm, tender and swollen when you put pressure on it. You may also feel pain when you move or even at rest.
If you’re feeling pain at the back of your knee, right at the top of your calf, you may be dealing with another type of bursitis, distal hamstring bursitis. It’s usually a result of hamstring tightness and friction, which causes the bursa to become inflamed.
If you have knee pain, recommend an evaluation by a Physical Therapist to determine the cause of the knee pain. The evaluation should consist of several tests to determine knee/hip flexibility and strength. An isokinetic assessment is of utmost importance to determine knee strength in relation to body weight. (see isokinetic info below).
You should be given home exercises to improve flexibility, avoid strengthening exercises until knee/hip flexibility is 80% of normal motion. Initiating strengthening exercises with flexibility limitations can prolong the pain or increase it. Strengthening exercises should not increase the pain.
The knee is comprised of the tibia (shin), the femur (thigh), and the patella (kneecap). These three bones are supported by many muscles, tendons, and ligaments. Inside the knee are two shock absorbers, each called a meniscus.
Your knee is a major joint in the body that is responsible for walking, climbing stairs, and rising from a seated position. Pain in the knee can limit one or all of these activities. By keeping the knee joint mobile and strong, problems with knee pain may be avoided and your mobility can be maintained.
Exercises are your main tool in maintaining good strength and mobility in your knees, and some simple exercises that you can do at home can help keep your knees moving right. After injury or knee surgery, a physical therapist can prescribe exercises similar to these listed in this “knee exercise program” to help you return to normal activity and function.
The knee exercises are divided into two levels.
LEVEL l Lengthening knee motion
LEVEL 2 Strengthening knee
LEVEL l . When exercising exercise both knees. It is important to regain the motion of the injured knee to equal to same as the uninjured knee or 90 % of active motion.
Do not start Level 2 strengthening until the motion is close to the range of the uninjured knee. If the other knee motion is limited, a physical therapy referral would be advantageous . Stretching is held 30 seconds, usually 3 to 6 reps. You should not experience increased pain, just stretching discomfort with stretching exercises. Back off and stretch to the edge. Also, you should not get cramping when stretching. Stretch both knees.
LEVEL 2. Strengthening exercises should not increase pain. If increased pain decrease resistance. If pain continues, go to another exercise.
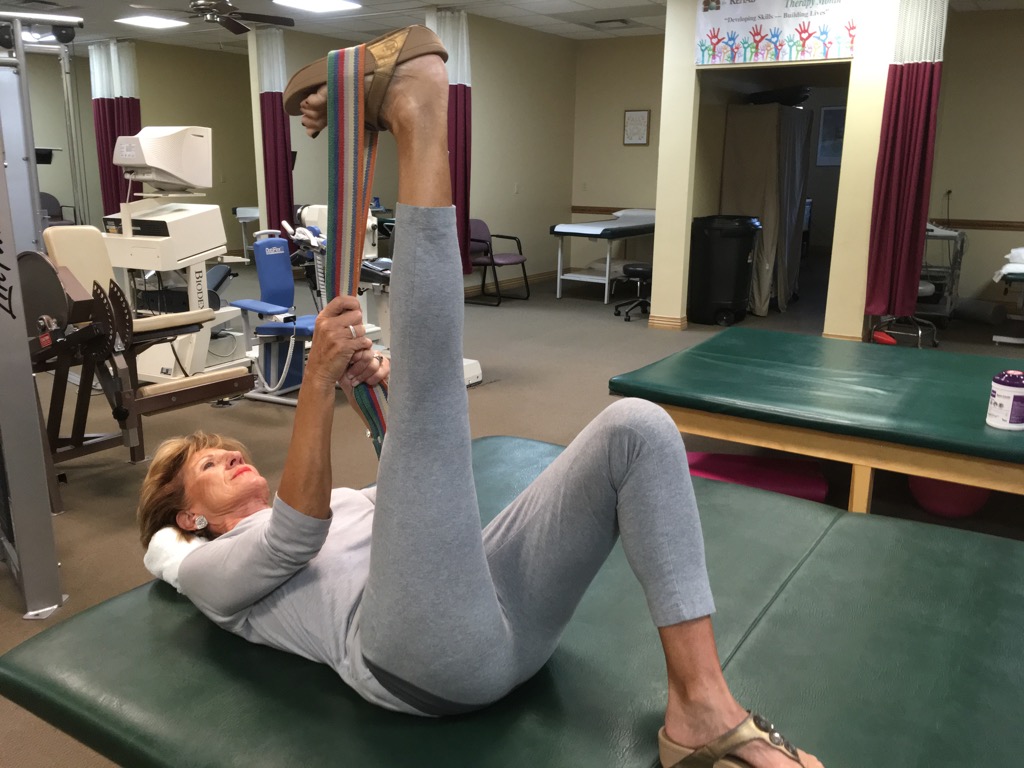
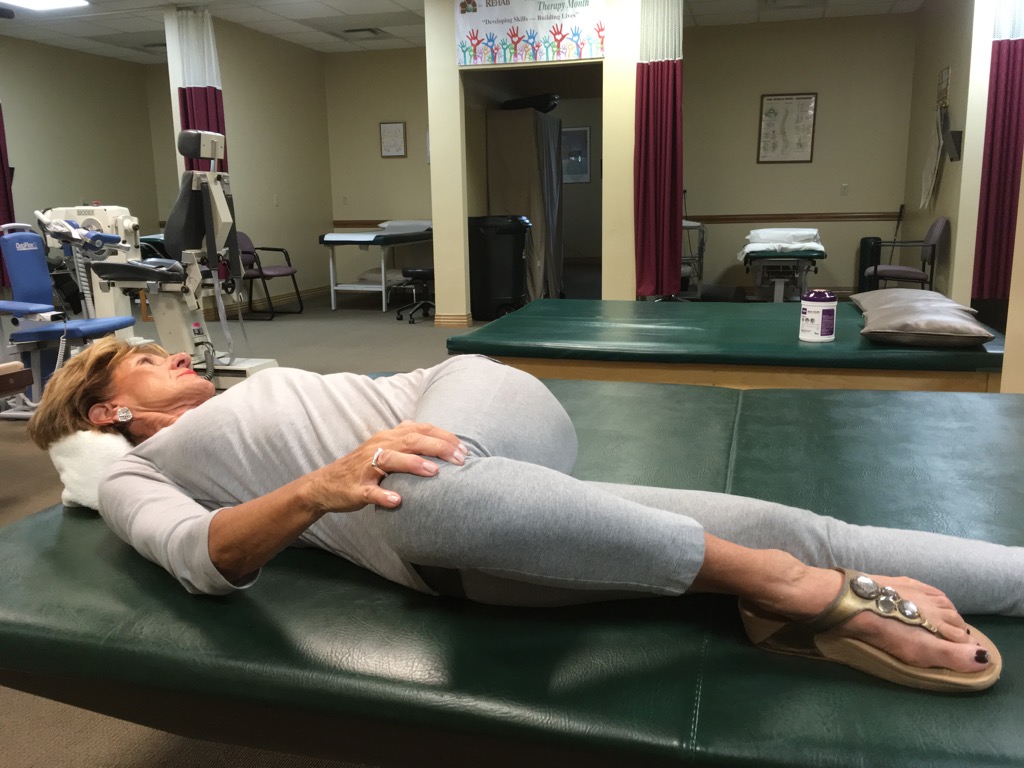
Level 1 Hamstring stretch supine.
Raise leg slowly keping the knee straight, stop when the knee starts to bend. Place a belt around the foot and pull the foot towards you and push the heel to the ceiling straighten the knee further. Hold for 30 seconds, alternate legs. Repeat 3 reps on each leg.
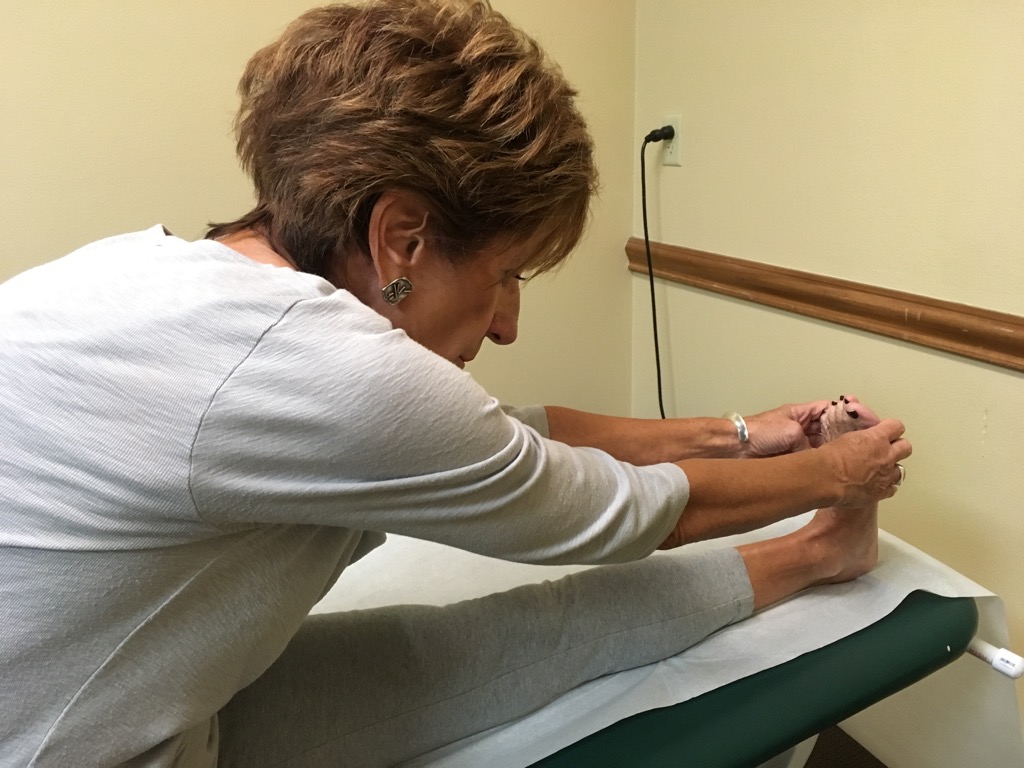
Level 1 Hamstring stretch sitting
Sit with the leg straight, bend forward at the waist, keeping the back straight, grasp the foot with both hands , pull the foot towards you Straightn the knee to the table. If unable to grasp the foot with both hands use a belt around the foot, pulling toes towards you and push the heel outward, walk both hands down the belt until knee bends, hold that position and straighten the knee to the table. Hold 30 seconds. repeat 3 reps alternating legs.
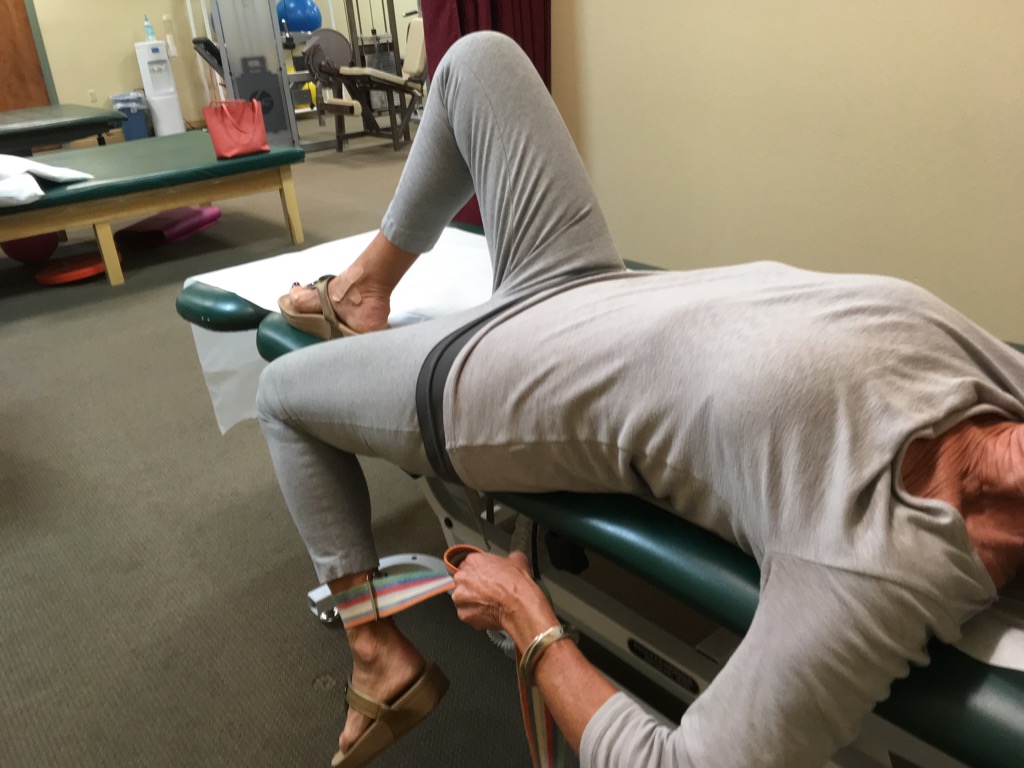
Level 1 hip flexor stretch supine
Hang leg over the side of the bed, wrap a belt around the ankle, pull the ankle to the buttocks. Bend opposite knee. Hold for 30 seconds. Repeat with opposite leg. Repeat 3 reps.
Level 1 hip Abduction Stretch Sidelying
Lie on back take left knee cross it over the right knee. Take right hand and push right knee towards the table. Stop when stretch is felt. Hold for 30 seconds. Repeat on opposite side. Repeat 3 reps.
LEVEL 2. Strengthening exercises should not increase pain. If increased pain decrease resistance. If pain continues, go to another exercise.
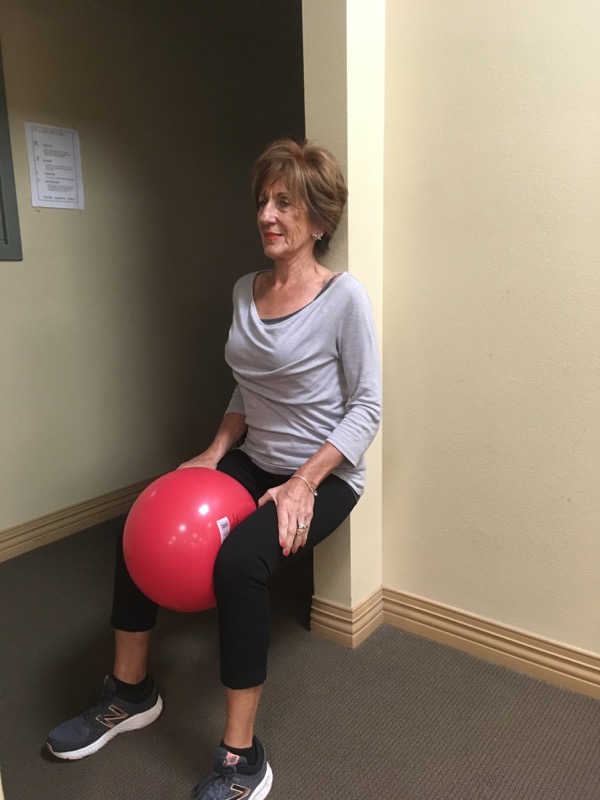
Level 2 Strengthening Medial Knee Musculature
Keep the back against the wall, slide down until knees and hips are at 60 to 90 degrees. As you increase the knee flexion the exercise becomes more difficult.
Place a ball, towel or pillow between the knees. Breathing out and pull belly button to the spine, stabilizing the pelvis, squeezing the ball at the same time. Hold for 10 seconds. Breathing in relax and return to standing position for 10 seconds. Repeat 10 reps..
As the muscles get stronger increase the hold time additional 5 seconds, until able to hold 20 to 30 seconds.
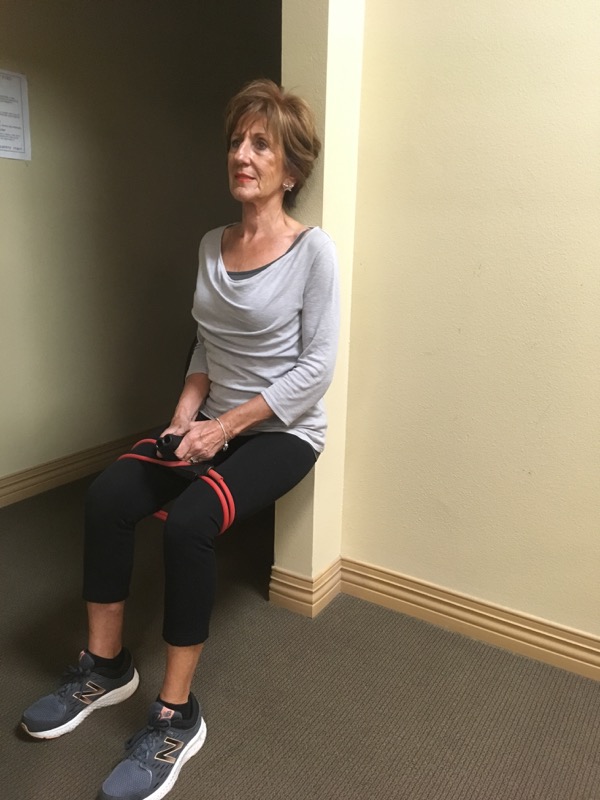
Level 2 Strengthening Lateral Knee Musculature
Keep the back against the wall, slide down until knees and hips are at 60 to 90 degrees. As you increase the knee flexion the exercise becomes more difficult. Wrap tubing aroung the legs just above the knee joints, take the knees apart 5-6 inches at the same time, breathing out and pull belly button to the spine, stabilizing the pelvis, pushing against the tubing at the same time. Hold for 10 seconds.
Breathing in relax and return to standing position for 10 seconds. Repeat 10 reps.. As the muscles get stronger increase the hold time additional 5 seconds, until able to hold 20 to 30 seconds.
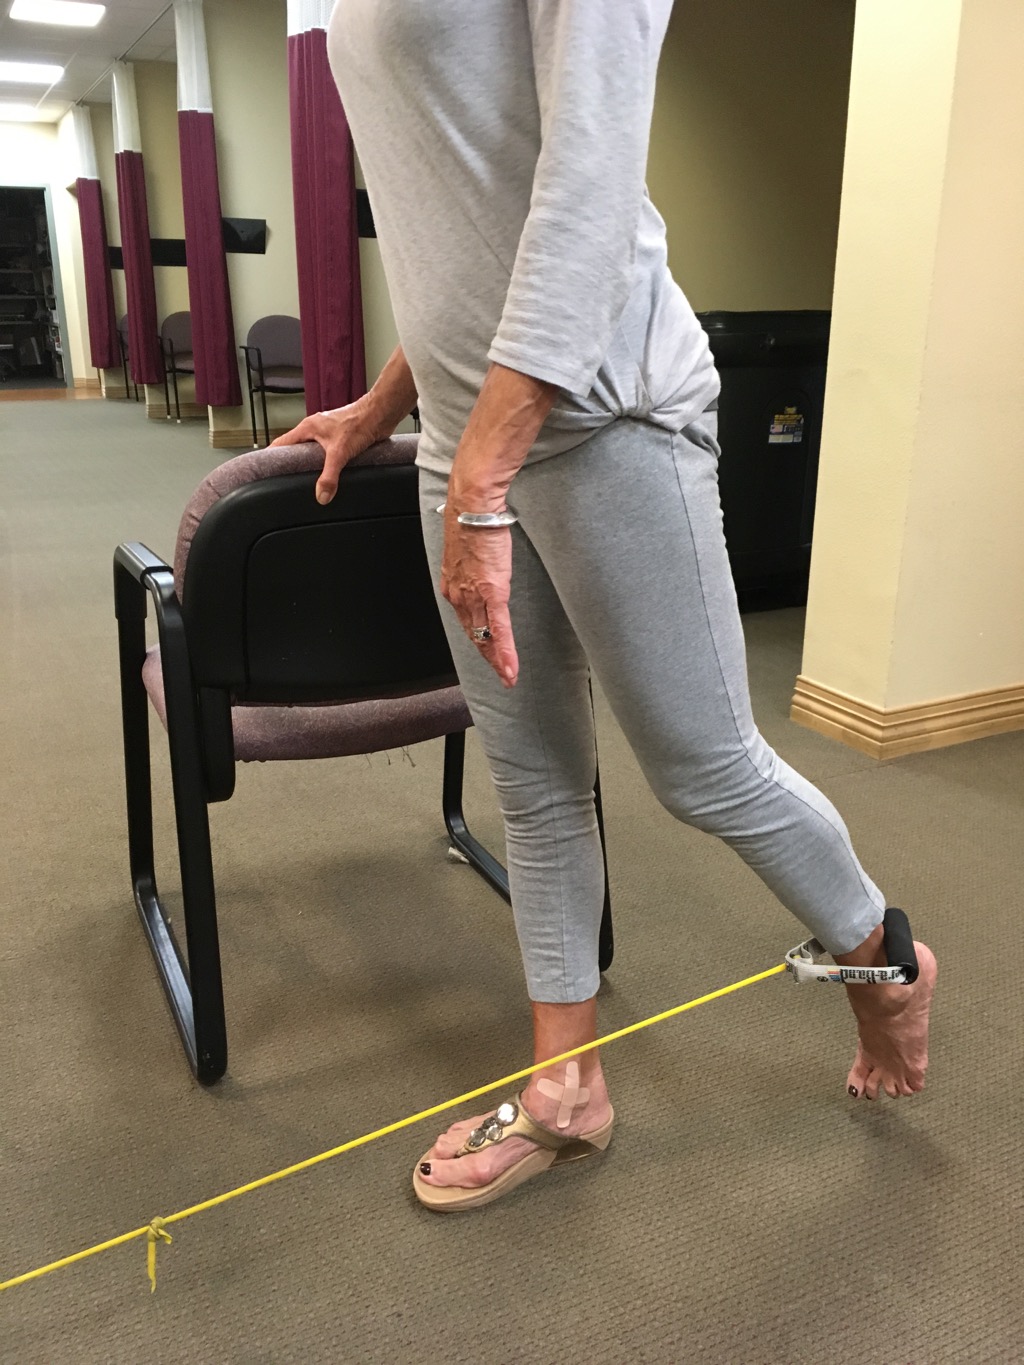
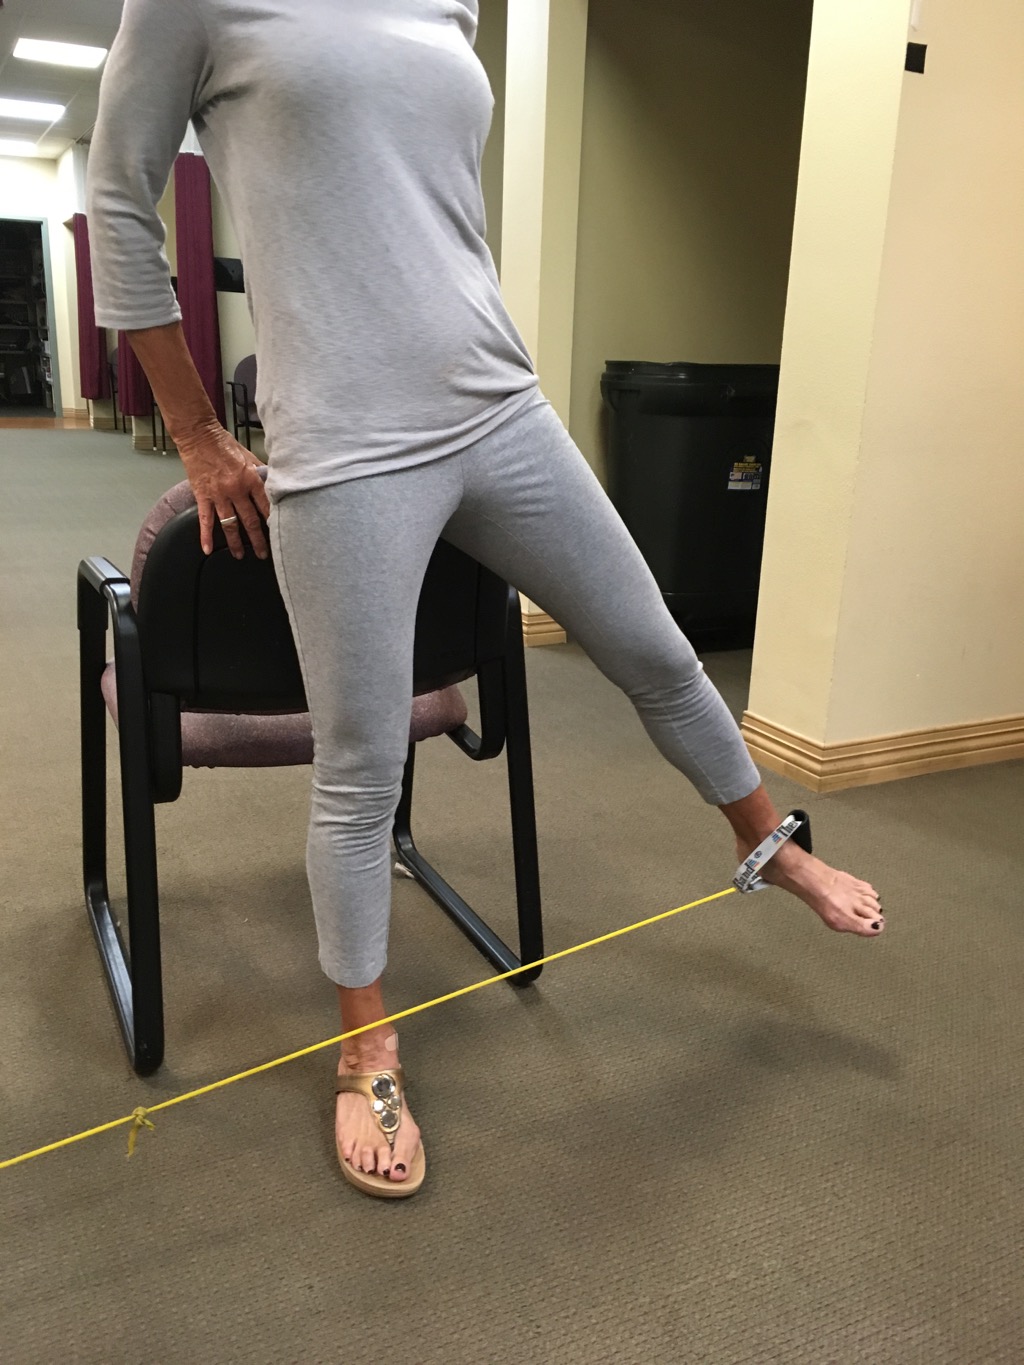

Level 2 Strengthening Knee & Hip musculature
Attach one end of tubing to table leg or object that will not move. Place chair next to you to hold on to for balance. Stand erect move leg in 4 different directions. Each time you move the leg against resistance breathing out and pull the belly button to the spine, breathing out for 5 seconds and breathe in 5 seconds when relaxing taking the leg back to original position.
Repeat 12 reps each of the 3 directions. As you get stronger replace the tubing with heavier resistance or move further away from the attachment for increased resistance.
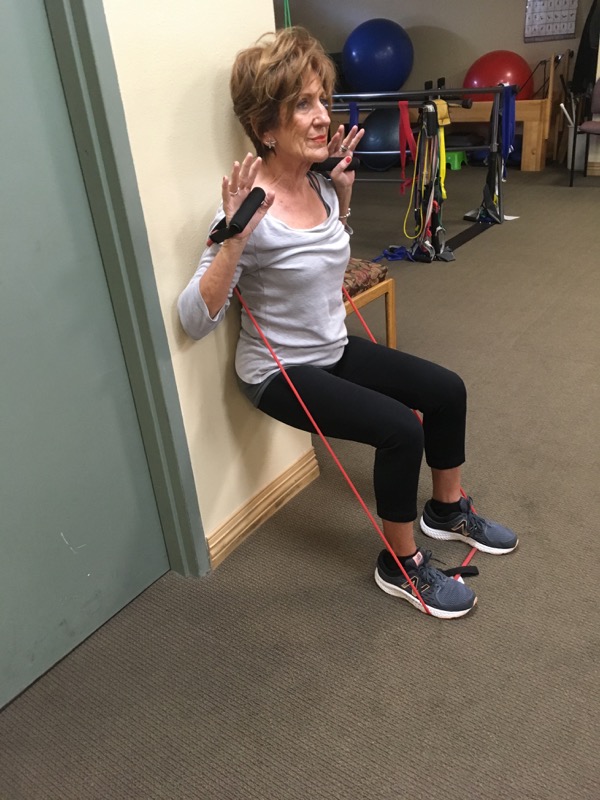
Level 2 Wall Slide with therapeutic tubing
Stand with the back against the wall, stand on tubing with both legs shoulder width apart. Slowly slide back down the wall to 60 to 90 degrees of knee flexion, bending the elbows taking them back against the wall. When in position exhale and pull the belly button up and in to spine. Hold for 10 seconds, keeping the knees over the great toes. Relax and slide back up to starting position, breathe in and relax for 10 seconds. (when returning to the standing position keep the back against the wall, if unable decrease knee flexion when in the flexed position. Repeat 10 reps.
As strength is gained increase the knee flexion to eventially 90 degrees. Always maintaining knees over the great toe. When able to accomplish easily at 90 degrees.
Try doing the wall slide on one leg keeping unweighted leg extended for 5 seconds later increase hold time to 10 seconds. 8 to 10 reps.
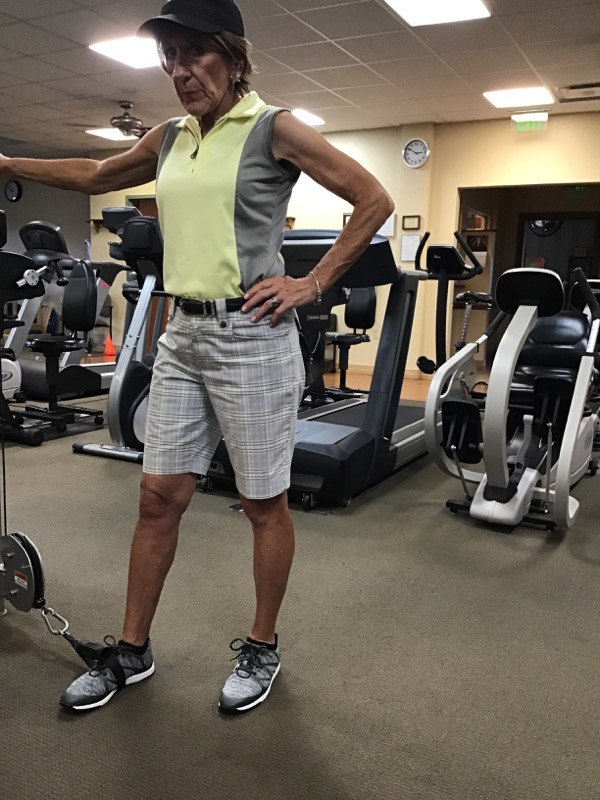
LEVEL 2 Step up/down on Step
Standing sideways on step slowly lower leg to the floor (keeping 1/2″ from the floor. Hold for 10 seconds at the same time breathing out and pull the belly button to the spine, breathing out for 10 seconds and breathing in 10 seconds when relaxing taking the leg back to original position. Repeat 10 reps. Repeat with other leg. Every 2 to 3 weeks increase holding time 5 seconds, until able to hold 20 seconds
ISOKINETIC TESTING: Determining knee strength to body weight.
Part of a Physical Therapy knee evaluation should consist of isokinetic testing to determine the quadriceps knee strength in relation to body weight (should be 80% or better of body weight). Also, the strength relationship of hamstrings to quadriceps
Isokinetic exercise is a type of strength training. It uses specialized exercise machines that produce a constant speed no matter how much effort you expend. These machines control the pace of an exercise by fluctuating resistance throughout your range of motion. Your speed remains consistent despite how much force you exert.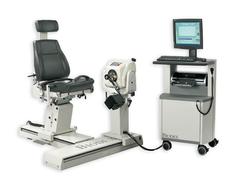
You can adjust the target exercise speed and range of motion to suit your needs. Different attachments on the machines can isolate and target specific muscle groups. You can use Isokinetic exercise to test and improve your muscular strength and endurance .
If the Physical Therapist is unable to complete an evaluation with isokinetic machine, recommend finding one that can complete the test. Lake Center for Rehab 910 Old Camp Rd.in Sumter Landing has an Isokinetic testing machine. Determining knee strength in relation to body weight is key to any knee strengthening program.
Exercising at a Fitness Facility and/or Strengthening w/ weights
Have a Physical Therapist recommend the types of machines to use at an exercise facility. Exercising improperly can undo the previous work . Avoid repetitive concentric knee strengthening exercises. Complete the knee exercises eccentrically. Complete 80% of the strengthening program with closed-chain exercises.
Initially establish maximum weight OLD SCHOOL: establish maximum each exercise by completing 1 repetition maximum. (Has been known to cause injury) Exercise TODAY: Start with lighter weights. Perform 8 reps completing the entire range ,pausing 2-3 sec at each range. Add 10 % weight until difficulty completing 8 reps. That is the starting maximum weight. Initially exercise at 80% of the maximum weight. Ex 20# is the maximum weight lifted, exercise at 16 #(80%) for 10 repetitions .
Complete the exercise in 3 to 5 sec, exercise slowly.
After 5 visits increase to 12 repetitions and 5 visits later increase to 15 repetitions .
After the total of 15 visits increase the weight 5-10%, starting the cycle over again back at 10 repetitions.
Rest & Ice massage: Modify or avoid activities that increase knee pain, such as squatting, climbing stairs. Icing the knee usually helps to reduce the pain. Take an ice cube and ice massage the area if it is small or around the patella. Usually for 5-7 minutes until the area is numb. Use ice pack for 15 minutes if painful area is larger. Repeat several times a day or after active activities, such as golf, pickellball,recreational walking.

Wearing Appropriate shoes: Make certain your shoes fit well and provide good shock absorption. If your shoes have covered over 500 miles, think about getting a new pair.
LOSE WEIGHT: Being overweight and obese can really be tough on your knees. The force on your knees is about 1.5 times your body weight. Reducing weight reduces the amount of pressure on the knee joint, reduces cartilage wear and reduces stress on the knees.